
Export Office 365 email addresses to CSV

Overview
Managing and organizing email contacts is a critical task for businesses of all sizes, and exporting Office 365 email addresses to a CSV file offers a versatile solution. This operation not only creates a reliable backup of valuable contacts but also facilitates the smooth transition of data between different email accounts, services, and computers. With the ability to edit contacts in Excel, the process becomes even more powerful when loading the exported CSV into a spreadsheet, enabling intricate data manipulation and improved contact management. On this landing page, we delve into what Office 365 email addresses are, provide a straightforward guide on exporting them to a CSV file without the need for PowerShell, explore various use cases, introduce an alternative method for CSV exports using Sourcetable, and answer frequently asked questions about the export process, enhancing your administrative experience and operational efficiency.
Exporting Office 365 Email Addresses to CSV File
Exporting from the Office 365 Admin Center
To export user data including email addresses directly from the Office 365 admin account, follow these steps: Log in to the Office 365 admin center. Navigate to the 'Users' or the specific group whose members' email addresses you wish to export. Look for the 'Export' option which allows you to download user data without the need for any scripting. By using this feature, you can efficiently save time by exporting the email addresses directly to a CSV file.
Streamline Your Email Management with Sourcetable
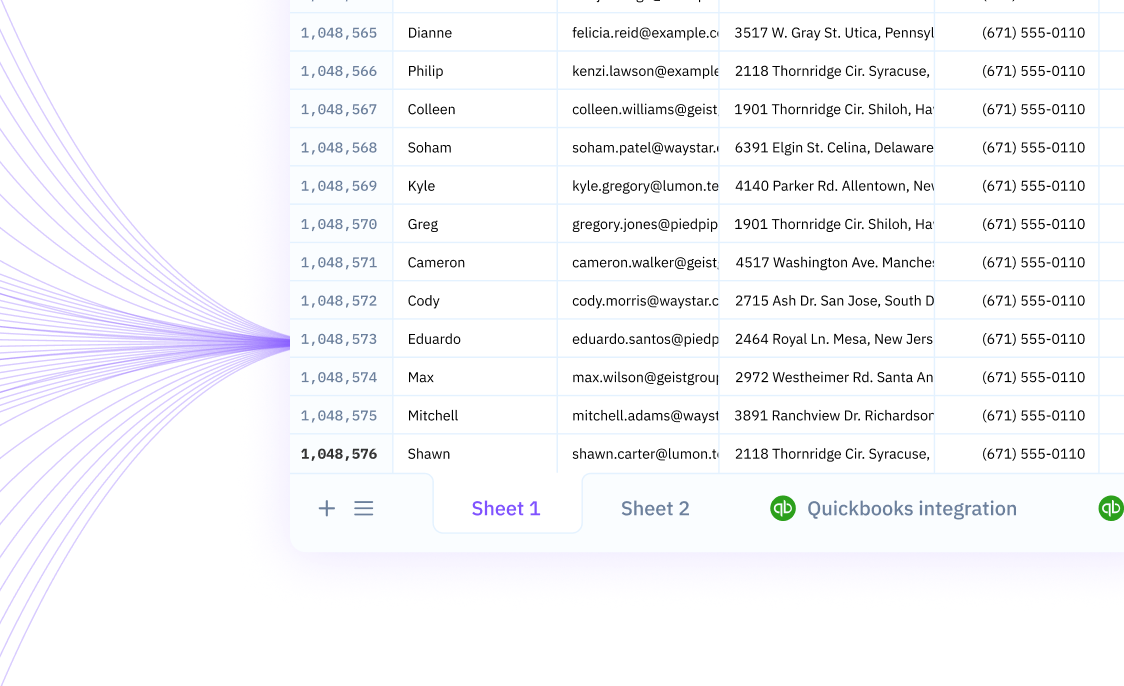
Forget the cumbersome process of exporting Office 365 email addresses to a CSV and then importing them into a spreadsheet. With Sourcetable, you can directly import your Office 365 email addresses into a dynamic spreadsheet, streamlining your workflow and enhancing productivity. Sourcetable's ability to sync live data from a wide range of apps and databases, including Office 365, allows you to seamlessly integrate your email addresses into a familiar spreadsheet environment without the extra steps.
Sourcetable stands out for its automation capabilities and business intelligence features. By using Sourcetable, you can set up automatic data pulls, ensuring that your spreadsheet always contains the most up-to-date information. This reduces the risk of human error and saves valuable time that would otherwise be spent on manual exports and imports. Experience the benefits of enhanced data management and analysis with Sourcetable's intuitive interface and powerful functionality.
Common Use Cases
-
Gathering more information about user mailboxesO
-
Using in EdbMails migrationO
-
Generating lists for both Exchange On-Premises and Exchange OnlineO
Frequently Asked Questions
How can I export Office 365 email addresses without using Powershell?
Log into your Office 365 admin account, click 'Admin' at the top of the page, then click 'Exchange'. Select 'Recipients' from the left side, click the 3 dots and choose 'Export data to a csv file'. Ensure a checkmark is placed beside each column of data you wish to export and click the 'Export' button.
Why would I need to export email addresses from Office 365?
Common reasons for exporting email addresses include moving email from one email account to another, backing up email, moving email from one computer to another, and performing periodic backups.
Does exporting email addresses from Office 365 move or copy the information?
Exporting email addresses will copy the information, it does not move it.
How can I ensure that I export more than the past year of data from Outlook?
By default, Outlook exports email from the past year. To export more, you need to turn off Cached Exchange Mode, which by default only has items from the past year.
How do I export contacts from Outlook for Windows to a CSV file?
In Outlook, select File, choose Open & Export, then choose Import/Export. Select 'Export to a file', choose 'Comma Separated Values', and then select the Contacts folder. Name and save your file. You can then import your contacts into another email service or Outlook on a different computer.
Conclusion
As we've seen, whether you're using the admin account to export user information from Office 365 or exporting contacts from Outlook for Windows, the process is now more streamlined and user-friendly than ever before. With the ability to save valuable time by avoiding Powershell scripting and the convenience of updating your CSV files in Excel, these methods ensure that your contact management is both efficient and effective. However, if you're looking to bypass the CSV export altogether and import data directly into a spreadsheet, you can utilize Sourcetable. Sign up for Sourcetable today to get started and take your data management to the next level.